Book Appointment Now

How to Clean Humidifier Filters
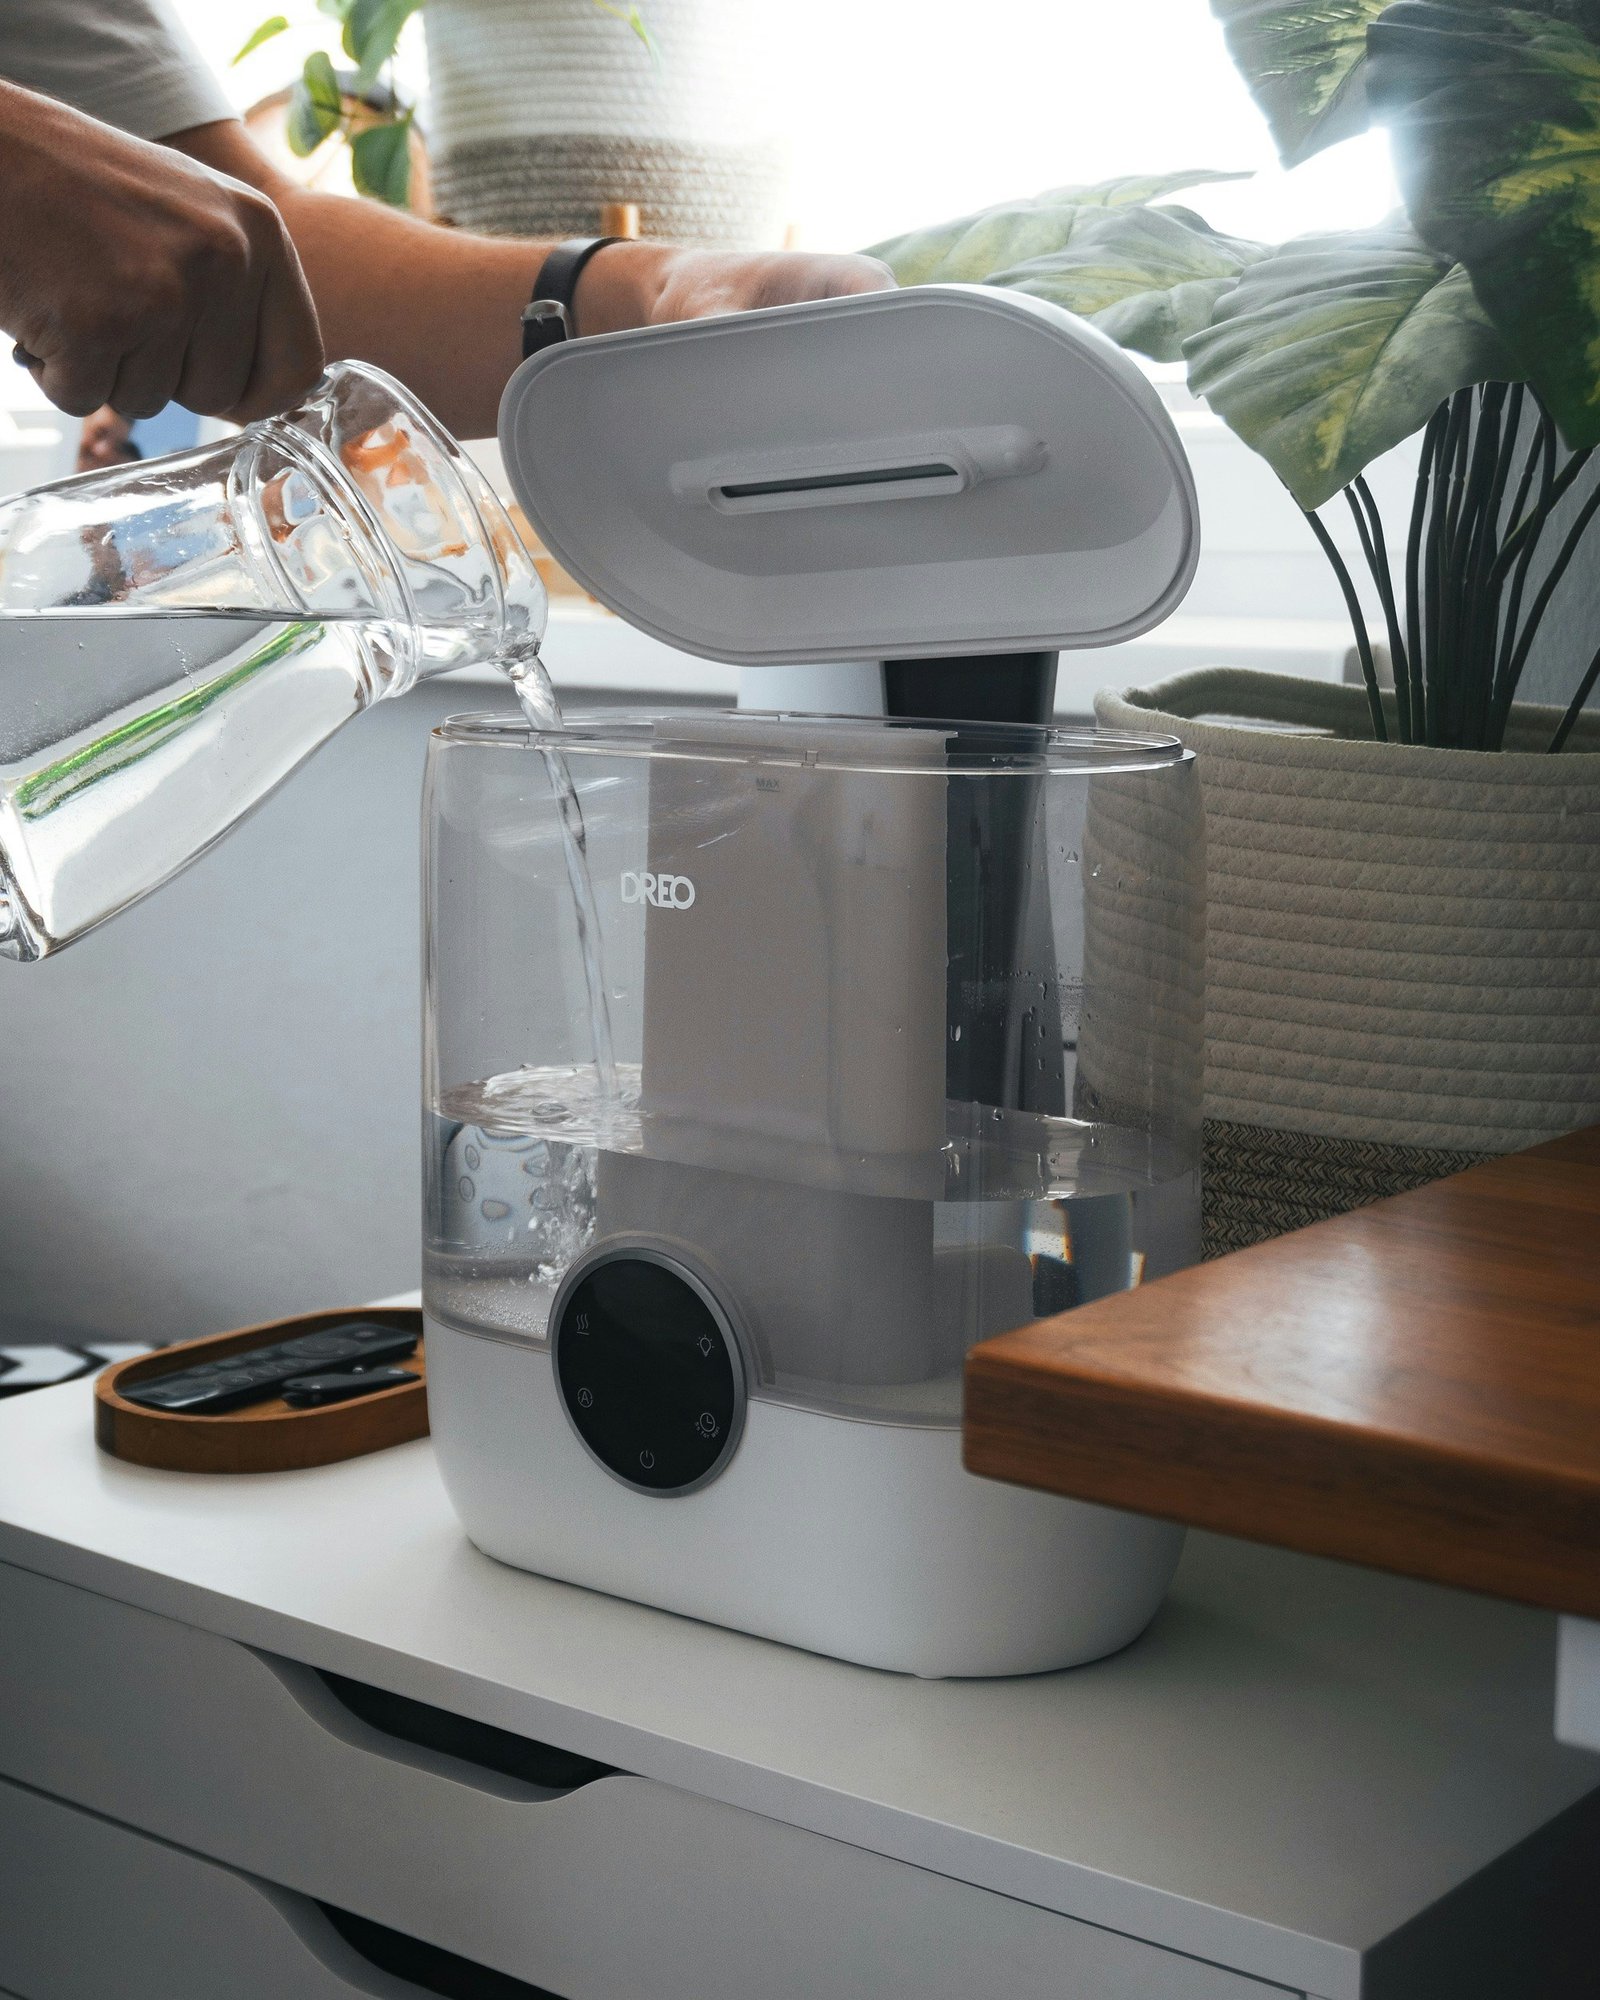
Most humidifier filters fail because mineral deposits build up inside before a smell or weak mist appears. Clean filters last longer and keep mist healthy. Start by checking for tears, mold, or heavy scale. Rinse off loose dust and soak stubborn deposits in a mild vinegar solution. Dry completely and reinstall carefully to avoid problems.
How Often Should You Clean Humidifier Filters?
Usually, you should clean your humidifier filter based on how often you use the unit and how dirty your water is.
In case you run it every day, check it weekly.
Should you only use it now and then, a monthly check could be enough.
Your seasonal frequency matters too, because winter use often builds more dust and scale.
Also, your water source changes the pace. Hard water leaves mineral spots fast, so you might need to clean sooner. Soft water usually gives you more breathing room.
Whenever you notice odor, discoloration, or weaker mist, don’t wait.
A quick inspection helps you stay ahead of grime and keeps your space feeling fresh.
Provided your manual gives a schedule, follow it closely so you can care for your filter with confidence.
Gather Your Cleaning Supplies
Before you start scrubbing, pull your supplies together so the job feels calm and easy. You’ll feel more in control once everything sits close by on the counter.
Pick a gentle gloves selection so your hands stay dry and comfortable. Then set out a clean bucket, a soft brush, mild soap or white vinegar, and a few storage containers for soaking or holding small parts.
- gloves that fit well
- a bucket with warm water
- soft cloths and a brush
Once you gather these items initially, you save time and avoid messy trips back and forth. That little bit of prep makes the task feel less like a chore and more like part of your home routine.
Remove and Inspect the Filter
Gently lift the humidifier filter out and take a close look at it. You’re doing a simple visual inspection, and that quick check helps you feel in control. Hold the filter by its frame so you don’t bend it, then observe any crusty spots, dark patches, or torn areas. Should you see heavy mineral buildup, mold, or damage, make a note for filter disposal instead of forcing a weak filter back into service.
Next, compare both sides and check the edges, because grime often hides there. A careful look now saves you trouble later and helps your home stay fresher. Were the filter to seem only lightly worn, you’re on the right track and can move on with confidence.
Rinse Off Dust and Mineral Buildup
After you remove the filter, give it a gentle rinse to wash away loose dust before it settles deeper into the fibers.
Then use running water to lift out mineral deposits that cling to the surface, and keep checking the filter as you go.
In case you spot any stubborn spots or rough buildup, rinse those areas again so the filter feels clean and ready for the next step.
Remove Loose Dust
Start via taking the filter out and checking it while it’s dry, because loose dust and light mineral crust are much easier to clear away at this stage.
You’re helping airflow optimization, and you’re also giving electrostatic attraction less to cling to.
That little prep step keeps the job simple and helps your space feel cared for.
- Tap the filter gently over a trash can.
- Use a soft brush or vacuum on the surface.
- Wipe nearby areas so dust doesn’t drift back.
If you see a dusty film, keep working in short, light passes instead of pressing hard.
You don’t need to battle the filter; you just need to free it up.
Once the loose grime is gone, the filter’s texture feels cleaner, and you’re ready for the next step without dragging debris along.
Rinse Mineral Deposits
Now that the loose dust is gone, you can wash out the stubborn mineral film that clings to the filter. Hold it under a gentle stream of water and let the flow do most of the work. In case you’ve got hard water in your home, that extra crust comes from mineral chemistry, so be patient and keep rinsing until the haze lifts.
Turn the filter slowly so water reaches every fold, but don’t squeeze rigid parts. Should buildup still linger, swish the filter in fresh water and rinse again.
You’re not fighting it alone; this step helps your filter breathe better and keeps your humidifier ready for the next use. A clean rinse also clears away leftover grit, so the filter feels fresh, not sticky, when you move on.
Check Filter Surface
With the loose grit already washed away, take a close look at the filter surface and make sure the stubborn dust and mineral spots are really coming off. Your visual inspection helps you spot what rinsing missed, and it protects surface integrity before you move on. Should you be cleaning with care, you’ll notice the filter feels lighter and looks more even.
- Check for chalky patches that cling to the mesh
- Look for dark specks that could be dirt or mold
- Turn the filter and inspect every edge, seam, and corner
When spots stay put, rinse again with gentle water and a soft brush. Don’t scrub hard; you’re part of a good routine here, and the filter should keep its shape. Were the surface still to look rough or torn, pause and reassess before reinstalling it.
Soak the Filter in Vinegar
Mix the vinegar solution initially, using the right ratio for your filter and a clean plastic bucket.
Then soak the filter long enough to loosen mineral buildup, and gently flip or swish it should it be needed so the vinegar can reach every spot.
After that, rinse the filter well under running water until the smell and loosened residue are gone.
Prepare Vinegar Solution
Pour the vinegar solution into a clean plastic bucket, and make it strong enough to help dissolve mineral buildup without being harsh on the filter. Start with the right vinegar concentration, then check the label on your humidifier for safety precautions.
A simple mix works well for many filters, and you can adjust it provided the scale is light or stubborn. You’re not doing this alone, either.
- Use white vinegar and clean water.
- Pick a bucket that fits the filter flat.
- Keep the mix away from children and pets.
When you prepare it carefully, you set yourself up for easier cleaning later. The goal is a gentle bath that helps lift grime without stressing the material.
In the event the solution smells strong, that’s okay. It just means you’ve made a solid start and you’re ready for the next step.
Soak and Rinse
Now that your vinegar solution is ready, you can let it do the hard work for you. Place the filter in the bucket and make sure it’s fully covered. Let it soak for 5 to 30 minutes, depending on how much buildup you see.
In the event the spots cling on, gently swish the filter or flip it halfway through so every side gets a turn. That small move helps you feel like you’re winning the battle together.
After soaking, lift it out and rinse it under running water several times until the smell and loosened grit are gone. Should vinegar not be the right fit, try vinegar alternatives or filter compatible detergents that your humidifier manual allows.
A clean rinse now helps your filter work better later, and you’ll notice the difference quickly.
Scrub Away Mold and Scale
To scrub away mold and scale, start with a filter that’s been removed from the humidifier and checked for damage. You want a calm, steady clean that helps you feel back in control. Use scale removal tools like a soft-bristled brush, then look closely for dark spots or crusty buildup. Should you be unsure whether mold is present, mold testing kits can give you extra peace of mind.
- Gently scrub the mesh and edges.
- Focus on mineral rings and stubborn patches.
- Work in small circles so you don’t tear the filter.
Keep your pressure light, because a tough hand can do more harm than good. As you lift away grime, you’re helping your humidifier support a fresher space for everyone at home.
Rinse and Dry the Filter Fully
Rinse the filter under cool, running water until the loosened vinegar, soap, and mineral grit wash away. Keep the stream gentle so you don’t press damage into the fibers, and turn the filter as you go.
| What to check | What you want |
|---|---|
| Water flow | Clear runoff |
| Surface touch | No slick feel |
| Moisture indicators | No damp spots |
After rinsing, let the filter air-dry at room temperature. Set it where air can move around it, because trapped moisture can invite odors and mildew. Should you be unsure, use airflow testing by holding it near a light draft and watching for any cool, wet feel. Before you move on, inspect the moisture indicators again. Once the filter feels dry all over, you’ll know you’ve done your part and kept your humidifier ready for the next cozy stretch.
Reinstall the Filter Correctly
With the filter clean and fully dry, slide it back into place so your humidifier can get back to work without a fuss. You’re almost done, and this step helps the whole unit feel like it belongs together again.
- Check the alignment tips in your manual before you press anything in.
- Use your placement checklist to make sure tabs, edges, and grooves line up.
- Give the filter a gentle nudge, not a shove, so it seats evenly.
If it wobbles, pull it out and try again. A snug fit keeps air moving the way it should and helps your machine run smoothly. Then close the cover, plug the unit in, and give it a quick look. Whenever everything sits right, you’ll feel that satisfying click of a job well done.
Prevent Buildup on Humidifier Filters
A little steady care goes a long way provided you want your humidifier filter to stay clean and work well.
You can make hard water prevention part of your routine through using distilled or softened water, which slows mineral crust before it starts.
Then keep humidity control in a safe range, because extra moisture can invite sticky buildup and musty smells.
Check the filter often, especially provided your home has mineral-rich water or you use the unit daily.
Clean the tank and base too, since grime there can travel back to the filter.
Also, let the room air out now and then, so the filter doesn’t sit in damp conditions.
Small habits like these help you feel confident, and they keep your space fresher for everyone.
Know When to Replace the Filter
Even good filter care has a limit, and sometimes your humidifier starts telling you it’s time for a new one. You can keep your air fresh, but you also need to watch the filter lifespan so you don’t push it too far. Look for replacement indicators like stubborn odor, warped edges, dark stains, or buildup that won’t rinse away. Should the filter still feel clogged after cleaning, that’s a clear sign it’s worn out.
- You see mold spots that return fast
- Water flow drops and mist feels weak
- The filter stays stiff, frayed, or torn
When these signs show up, swap the filter with confidence. You’re not failing the routine; you’re protecting your space and keeping your humidifier working the way your home deserves.
Frequently Asked Questions
Can I Clean a Humidifier Filter With Vinegar and Soap Together?
Yes, you can, but keep it gentle, like tending a shared hearth. Use a weak vinegar concentration or soap, not both together, then rinse well. Don’t leave soap residue; your filter needs a fresh start.
How Long Should I Soak a Badly Scaled Humidifier Filter?
Soak it for 5 to 30 minutes, depending on mineral buildup. If the scale is heavy, you can repeat a fresh soak after rinsing. You will get cleaner results by checking it midway and loosening residue gently.
Is It Safe to Squeeze a Humidifier Filter While Rinsing?
No, you shouldn’t squeeze a rigid humidifier filter while rinsing because you can damage it and shorten filter lifespan. If the filter is soft, use gentle squeezing to remove excess water.
Can I Use Heat to Dry a Humidifier Filter Faster?
No, you shouldn’t use heat; it can scorch the filter like a sunbaked leaf, causing heat damage and accelerated wear. You’ll keep it lasting longer provided you air dry it completely at room temperature.
Should I Clean the Humidifier Tank and Filter at the Same Time?
Yes, you should clean them together to keep your tank maintenance consistent and your cleaning schedule simple. You will remove residue from both parts, reduce odors, and help your humidifier stay fresh and ready.
